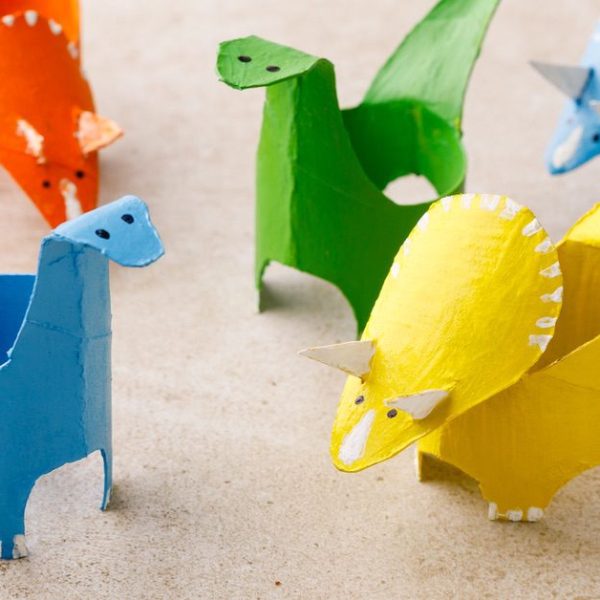
Make your own colorful homemade dinosaur crayons! It takes just minutes to transform ordinary crayons into extraordinary dinosaurs — an easy way to make coloring extra fun.

How to Make Dinosaur Crayons
- Melt the crayons: Broke the crayons into small pieces. Place the crayons into microwave-safe bowls. Microwave on high in 30-second increments until smooth, stirring in between every 30 seconds.


- Mold into dinosaurs: Spoon the melted crayon wax into the dinosaur mold, one color at a time. Allow to set completely at room temperature, then gently pop the dinosaur crayons out.

Recipe Variations for Dinosaur Crayons
Colorful rainbow swirls: Replace the solid colors with crayon shavings of various colors. Shred crayons into tiny pieces. Do not mix before melting. Don’t use the microwave to melt this batch. Rather, make a double broiler and try not to stir the mixture so the colors do not mix until poured into the mold.
Scented dinosaur crayons: Add a few drops of essential oils to each melted crayon color for a fragrant twist. Use scents like lavender, citrus, or mint for a sensory experience.
Glow-in-the-dark dinosaurs: Mix glow powder with the melted crayon wax before pouring it into the molds. Charge the dinosaurs under a bright light and watch them glow in the dark.
Sparkling glitter dinosaurs: Sprinkle edible glitter into the melted crayon wax for a shimmering effect. Mix well before pouring into the molds to create dazzling dinosaur crayons.


Marbled effect dinosaurs: Pour two or more colors of melted crayon wax into the mold simultaneously. Use a toothpick to swirl the colors together for a marbled effect.
Hidden treasure dinosaurs: Before the crayons fully harden, embed small trinkets or beads into them. Kids can discover hidden treasures as they color. (Not suitable for very young children)
Safari animal crayons: Use animal-shaped molds instead of dinosaurs. Using the same method, create a menagerie of safari animals like lions, zebras, and elephants.
Dinosaur egg crayons: Mold the melted crayon wax into egg-shaped molds instead of dinosaur shapes. Kids can crack the molds open to reveal the crayons inside.
Metallic dinosaur crayons: Add metallic pigment powder to the melted crayon wax for a shiny finish. Mix well and pour into molds to create metallic dinosaur crayons with a lustrous sheen.
Painted dinosaur crayons: Dip the cooled dinosaur crayons into acrylic paint to add intricate designs or patterns. Let the paint dry completely, then use your crayons for colorful artwork.

Dinosaur Crayons

Equipment
Materials
- 2 blue crayons, unwrapped
- 2 yellow crayons, unwrapped
- 2 green crayons, unwrapped
- 2 red crayons, unwrapped
Instructions
- Broke the crayons into small pieces.
- Place the crayons into microwave-safe bowls.
- Microwave on high in 30-second increments until smooth, stirring in between every 30 seconds.
- Spoon the melted crayon wax into the mold, one color at a time.
- Allow to set completely at room temperature, then gently pop the dinosaur crayons out.
Notes
- Molding tip: To avoid imperfections in your dinosaurs, make sure the mold is clean and dry before pouring the melted crayon wax into it.
- Microwave safety: Always use microwave-safe bowls when melting the crayons, and use oven mitts to handle them afterward to prevent accidents. Do not overheat the wax.
- Color layering idea: Pour a layer of wax and leave it to cool slightly, then add the next color layer to prevent the colors from mixing and maintain crisp, vibrant dinosaur shapes.
- Unwrapping the crayons: Make sure to remove all the paper wrappers from the crayons before melting to ensure a smooth consistency.
- Creative mixing: Experiment with different color combinations by mixing crayon colors before melting to create unique dinosaur crayon shades.
- Storage tip: Store your dinosaur crayons in a jar away from direct sunlight to stop them from melting or warping.